Part One
This post is all about barnwood.
I have a thing for barnwood.
If you have never noticed an old barn before, and appreciated the beauty of it, then this post probably isn’t for you.
Back in the Day
Here are a few pictures of the barns that used to stand at DRF. If we ever win the lotto, we are rebuilding these barns — so I may have to start playing the lotto.
As DRF sits atop a hill, the barns were built into the hillside and have beautiful 18-24″ stone foundations.
Below is a picture of the old horse barn, on the east edge of what is now the property line. (It is now home to BJR’s gun range. You know, that pesky truth that marriage is a balance of compromise.)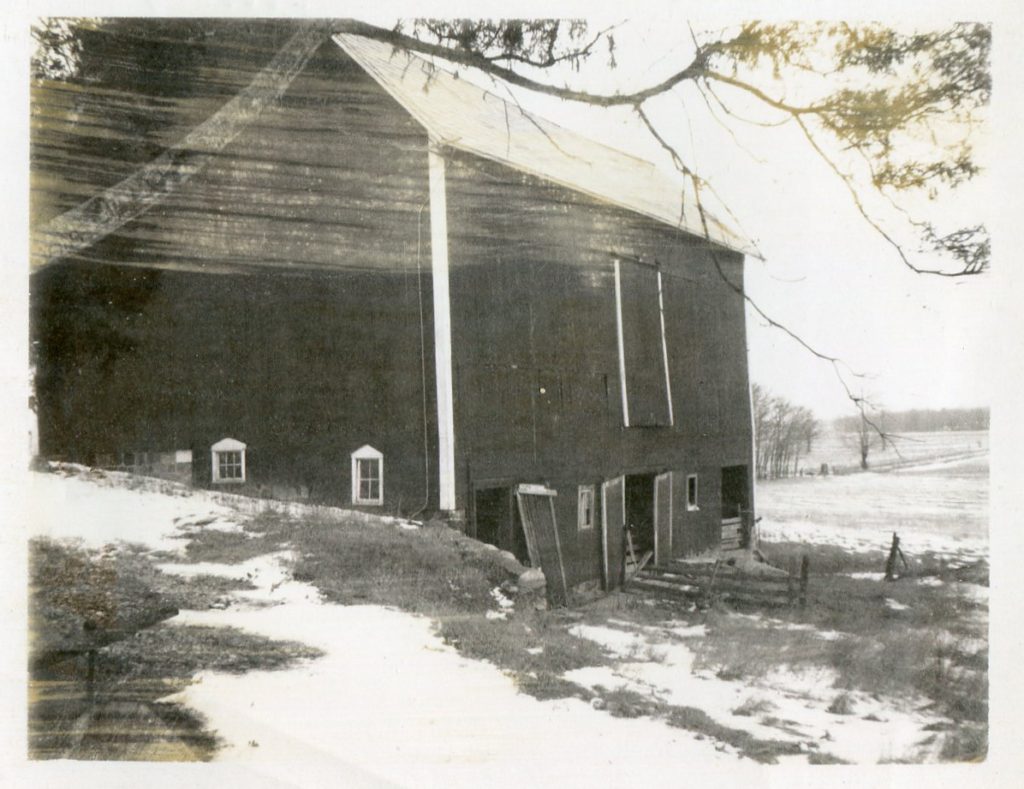
Thanks to the generosity of a dear family friend of the Kane family, we got to see these old pictures.
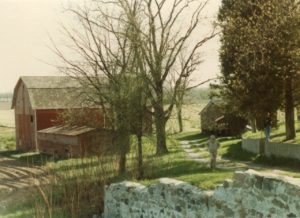
Here is what the southern most barn at the end of the lane looked like. You can see it had some serious issues going on. 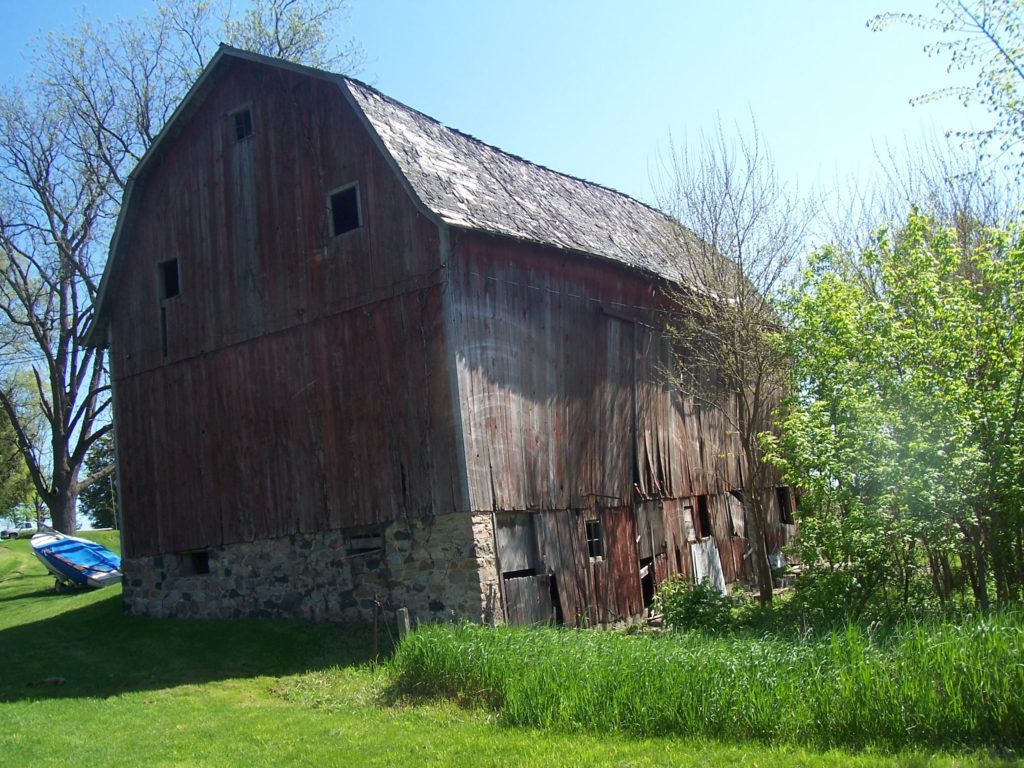
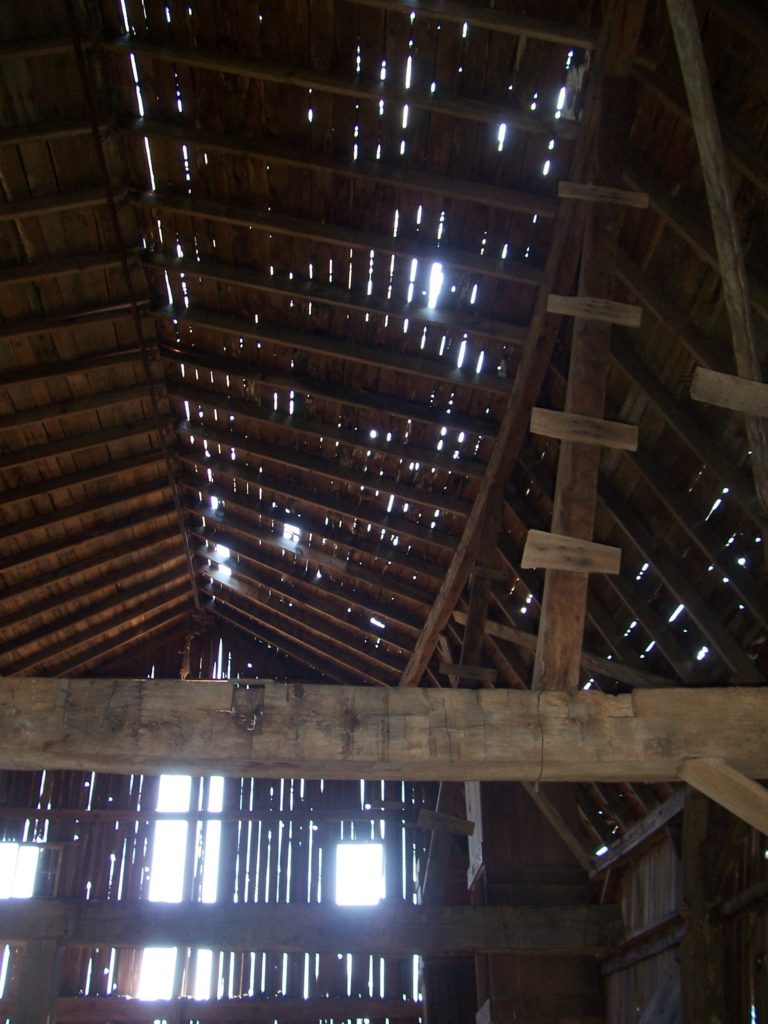
There are about 4-5 of the barn’s original beams sitting down under a tarp on the old concrete slab. I am hoping we can find a way to use them in the farmhouse. I would have loved to see these barns in their glory days.
The Old Corn Crib
The corn crib along the east side of the property was barely standing when we bought the farm (go back and look at the second picture in this post, you can see what the corn crib looked like before it was completely dilapidated). Several summers ago, BJR and his prybar reclaimed many of the slats. Next, my sister Maggie and I took our turn a few years later, wonking and prying what wood we could, from the exterior of the crib.
Adam finished the job a few weeks ago and took down the rest of the corn crib.
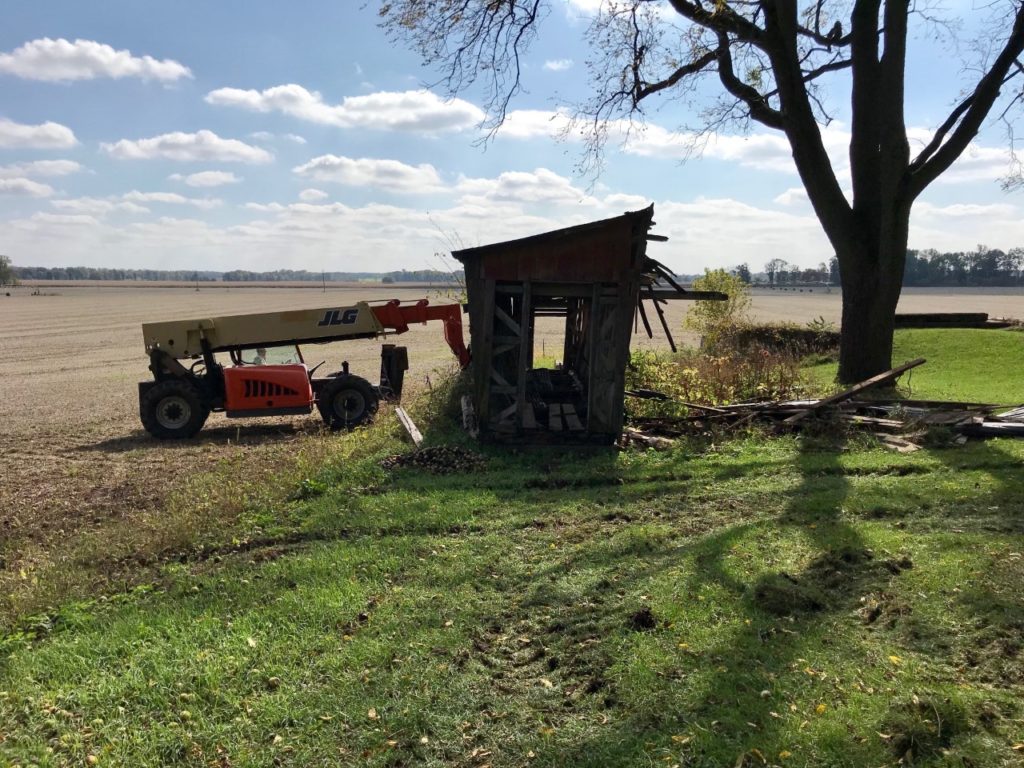
That was a little sad. But necessary, I suppose. (And it did allow me to pick off the rest of the exterior boards.)
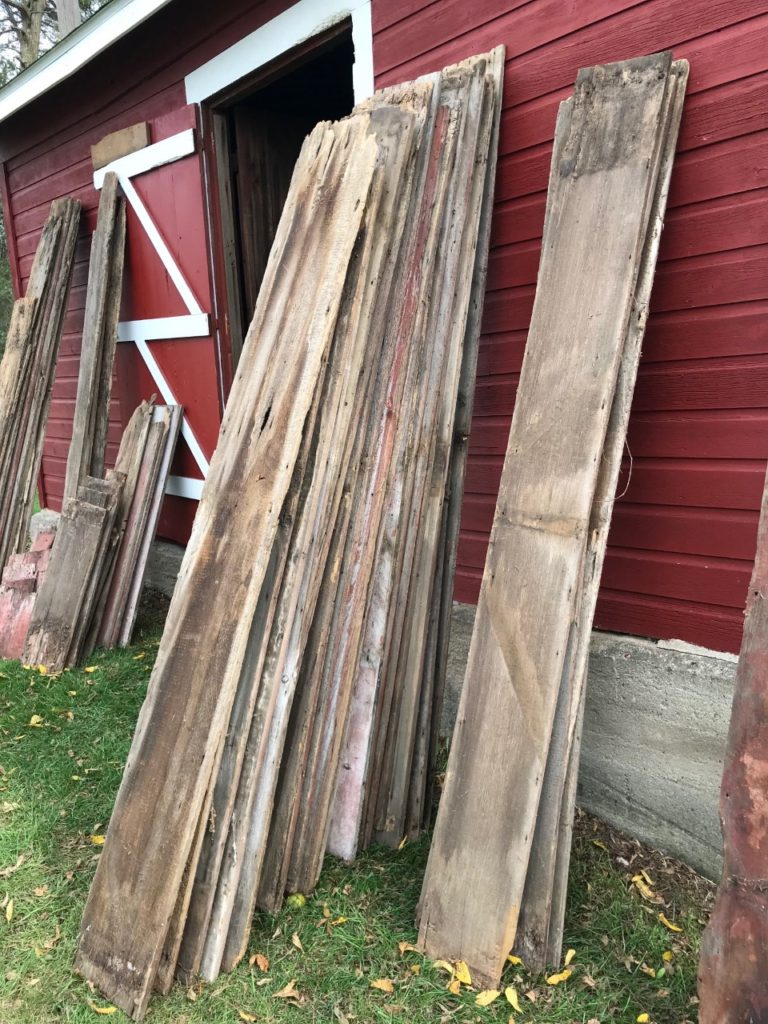
In the beginning of October, I started the task of sorting and cleaning the exterior wood boards.
Nail by nail.
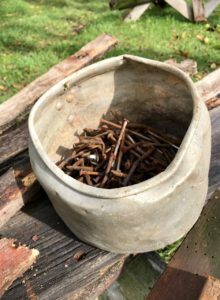
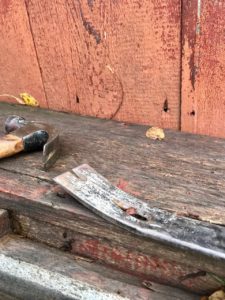
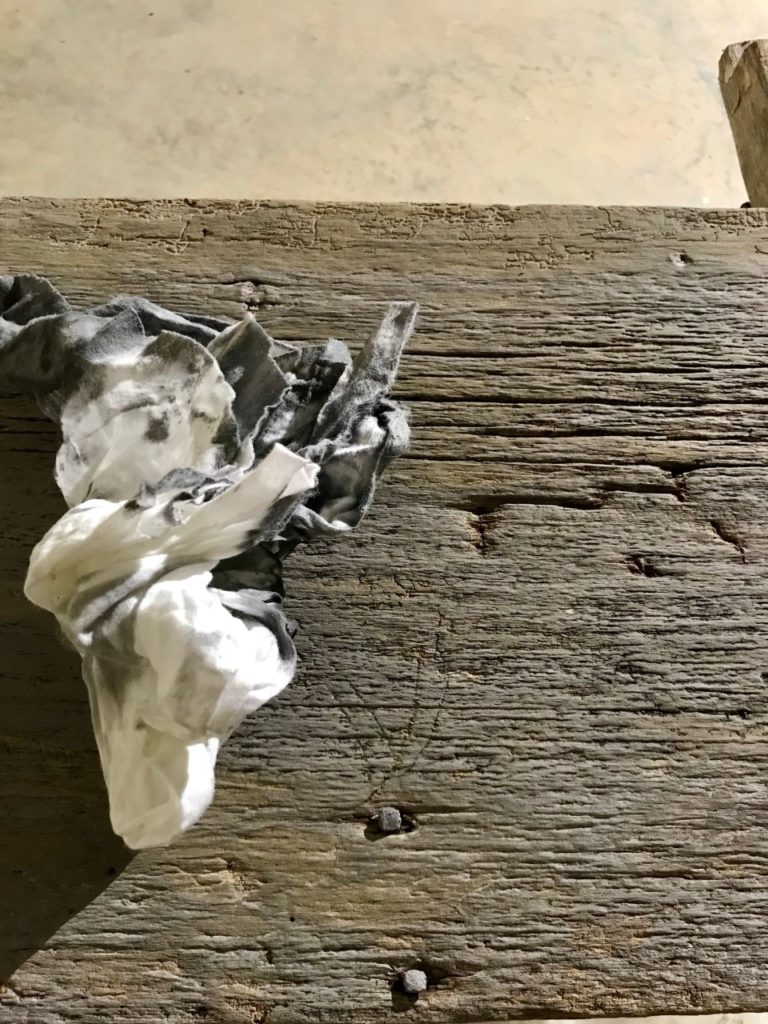
Then, with wire brush in hand, a new bag of steel wool pads, and a lot of elbow grease — along with a concoction of hydrogen peroxide and good ol’ Murphy’s Oil Soap — each board got a thorough cleaning. The hydrogen peroxide was intended to kill any mold or mildew lurking in the wood.
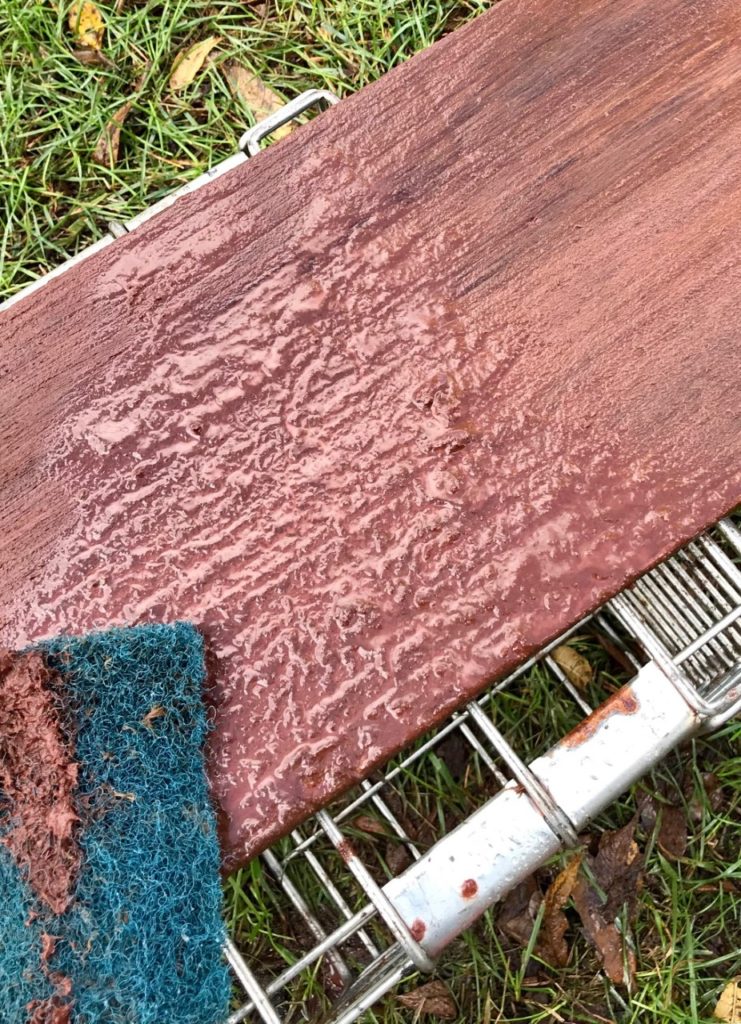
Some folks would use a planer to make the surface more polished, but I am not one of those folks.
I kept all the square nail heads I could. I didn’t try and erase critter scratches or imperfections. I wanted to give these boards a much needed make-over, but not a full face-lift. I wanted them to be recognizable, to retain their character, and tell their story.
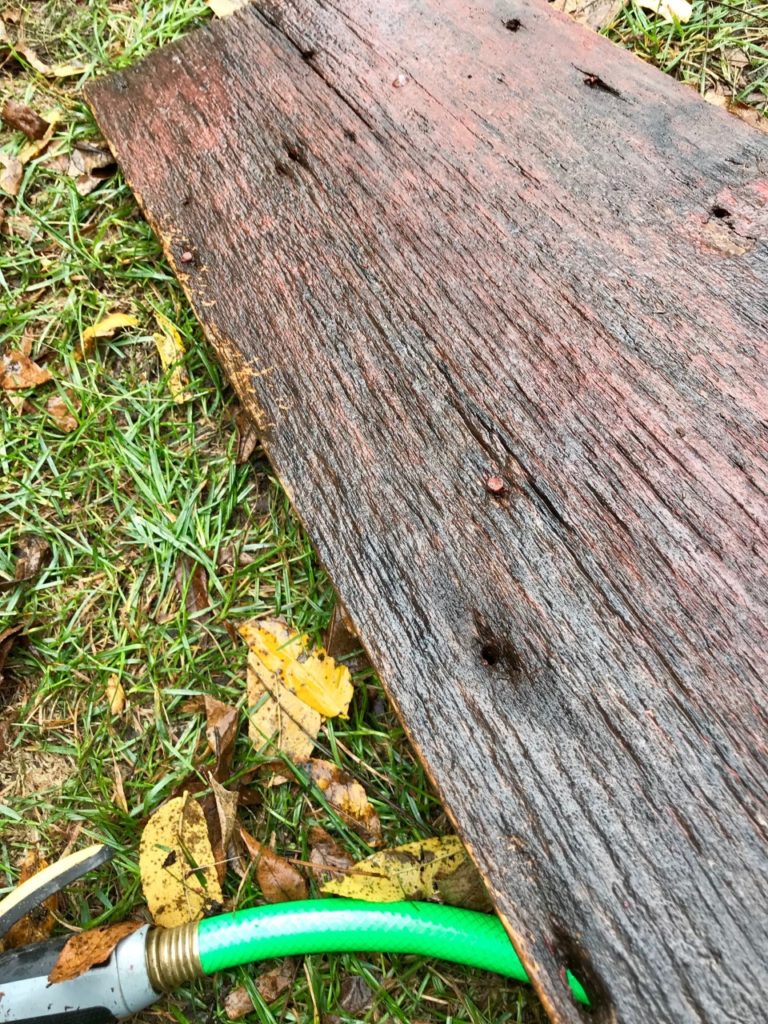
After the wire brush, steel wool, and washing process was done*, the boards were left outside for a few days to dry out.
*It’s a bit annoying at how quickly all that work was summarized as done.
Maybe it should read more like: wire brushed, wire brushed, wire brushed, then wire brushed some more, until my hands were numb.
Scrubbed with steel wool, scrubbed with steel wool, then scrubbed with steel wool, some more, etc. You get the picture.
If you have ever wondered why items made out of old barnwood can be pricey, let me tell you — the price reflects the labor of love to clean them, so that you can enjoy the look of an old barn without smelling one.
I knew it would be messy and hard, but I underestimated how much work it would be.
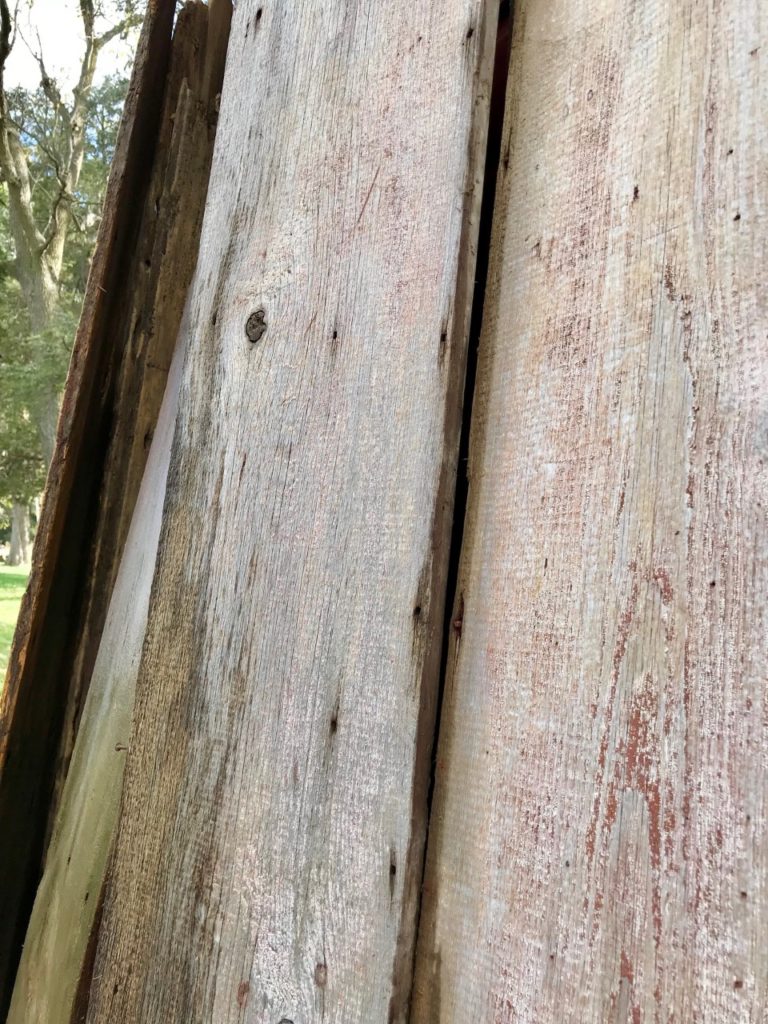
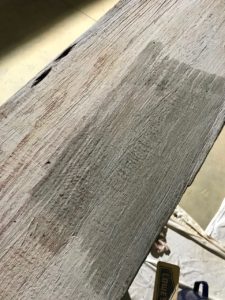
Then the cleaned boards were stored in the new basement in order for them to fully dry and acclimate. After the boards dried out for almost two weeks, it was time to give them that extra bit of uniformity. My sister in law Jo was a trooper and came over to help paint the boards. I made a wash concoction of Kilz, gray stain, black paint, and water, so that we could channel our inner Karate Kid — wax on, wax off.
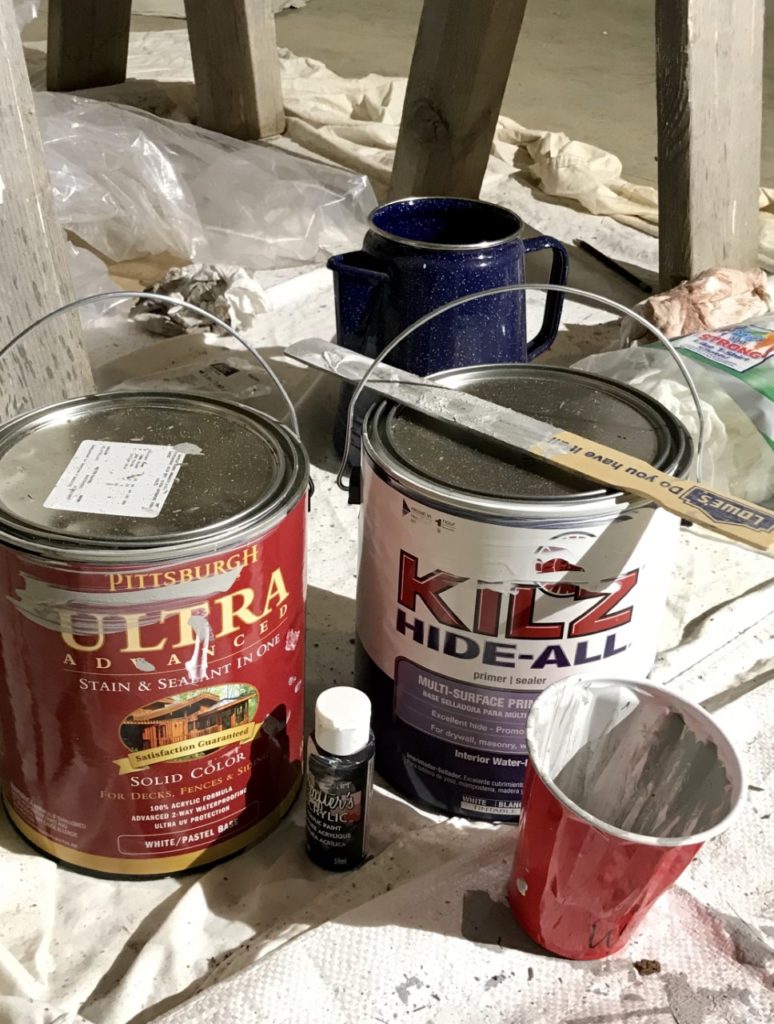
This really was trial and error. I wasn’t sure how the wood would absorb the treatment/wash and we just had to figure it out as we went along. We learned pretty quickly to not try and wash over the solid red sections of plank. Ain’t nobody got time for pink barnwood.
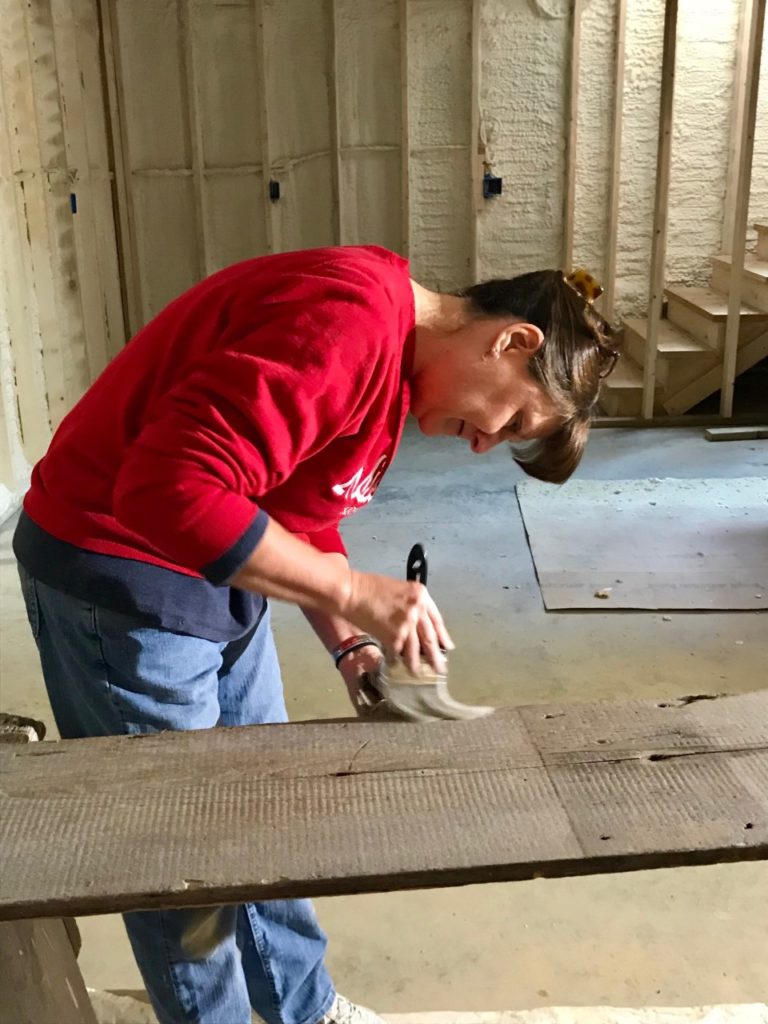
Once we applied the wash to the boards, we played the “Which of these things is not like the other?” game.
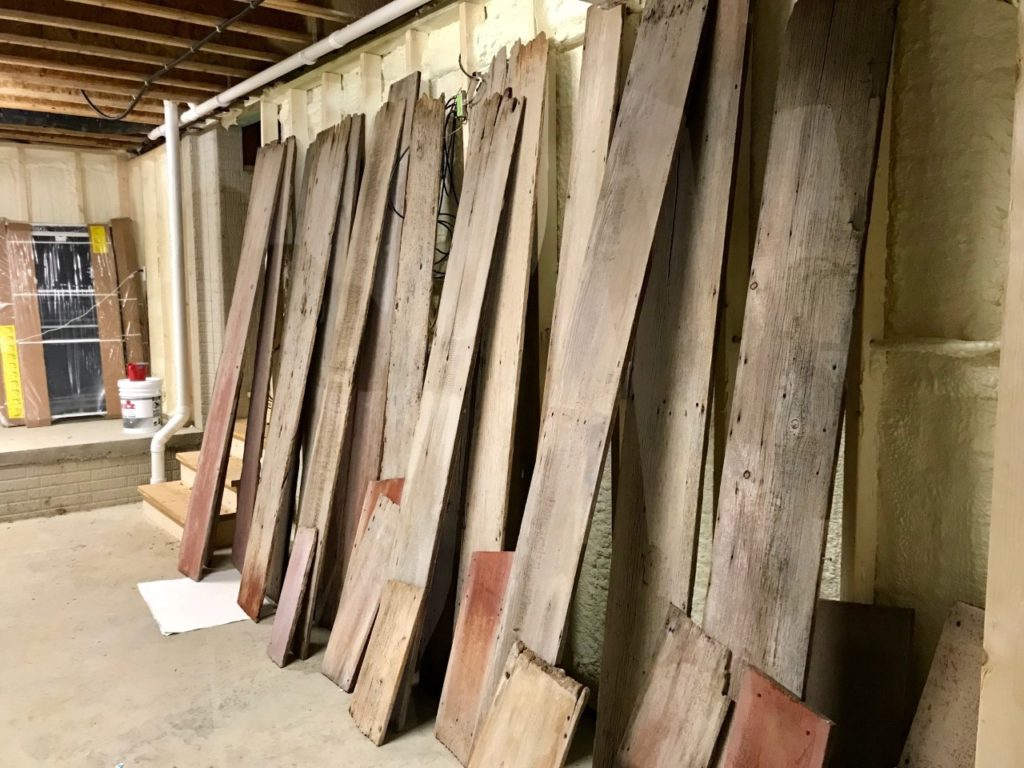
By lining the boards up, and looking at them as a group, we could go back and darken or lighten accordingly. Some boards needed more love than others. Some we just touched up, here and there, and others needed a heavier hand with the wash.
Old farmhouses are weathered and have personality in their bones, whereas new construction starts out very vanilla. Each of these boards was cleaned and treated to help add character to the new DRF addition.
Part Two
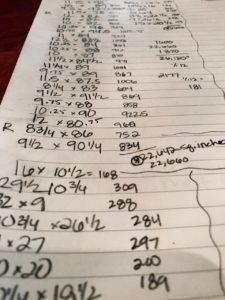
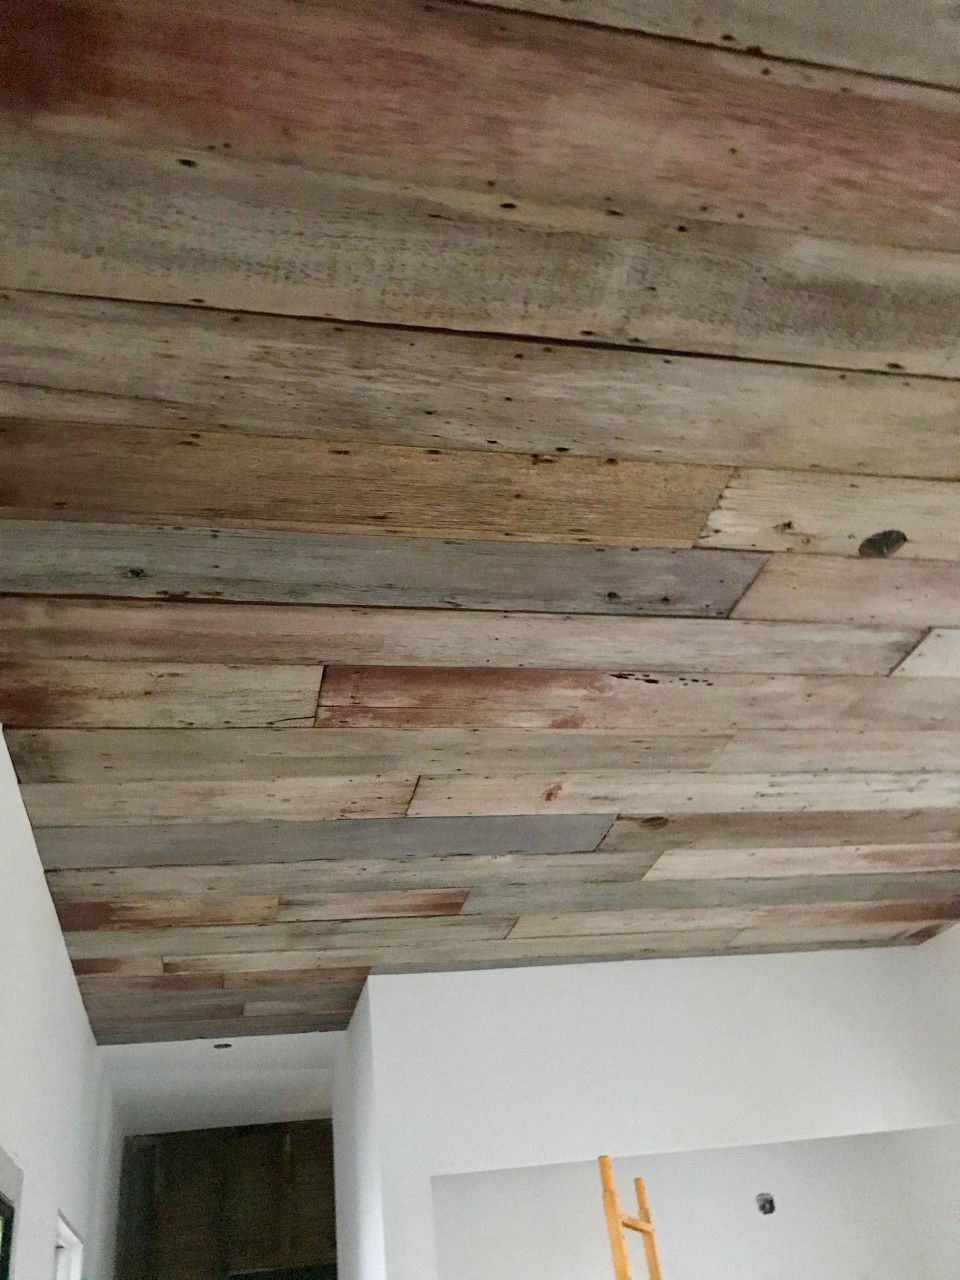
The plan was to install these boards on the mudroom ceiling. First I had to make sure I had enough square feet to make that happen. The mudroom is about 13′ x 16′ and has 10′ ceilings. Because these old planks were milled many moons ago, the boards were all different widths, between 8″ wide to 12″ wide. After a lot of measuring, and double checking my math, I realized I had enough to do the mudroom ceiling.
This was cause for celebration.
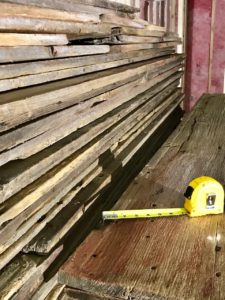
I even managed a happy dance in the glow of the construction light.
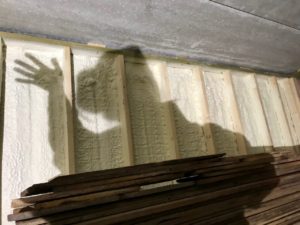
When Doug and his crew finished the interior of the mudroom, they put OSB on the ceiling in order to make installing the barn wood much easier (don’t you just love it when planning ahead works?). So I stained the OSB a warm gray color, so that the OSB wouldn’t show through along any of the weathered sides of the planks.
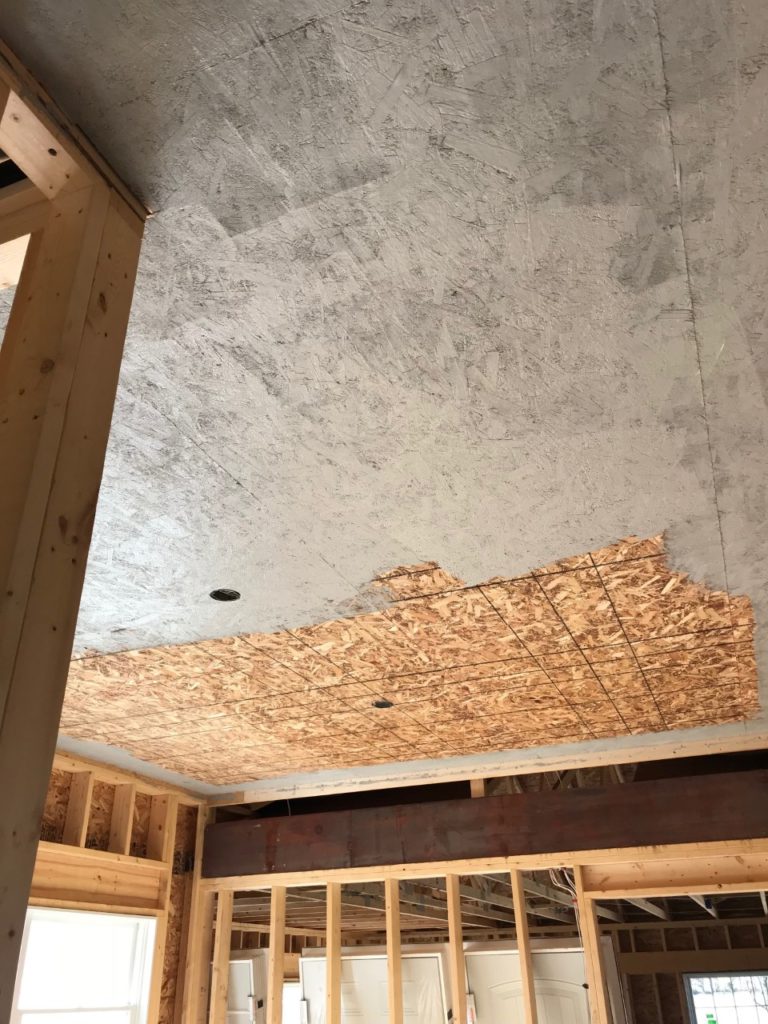
As soon as the drywall was finished yesterday, the clean up began, and we could finally put the barnwood on the mudroom ceiling. Doug, Adam and Luke were scheduled to come out and help us make it happen.
Get the Party Started
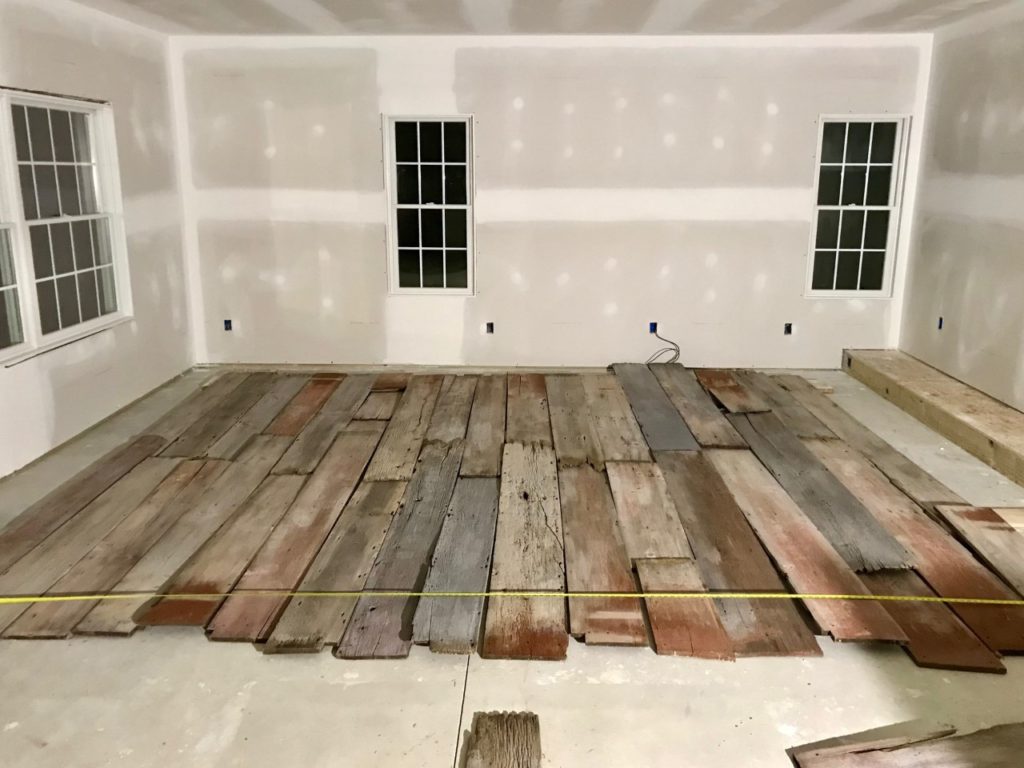
Before the guys arrived, I marked out the mud-room’s dimensions on the garage floor, and started to assemble the pieces where I wanted them.
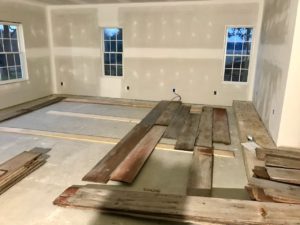
There was a lot of rearranging here, to make sure my planks were the same width. Back when the corn crib was built, the wood was not cut in uniform, standard widths.
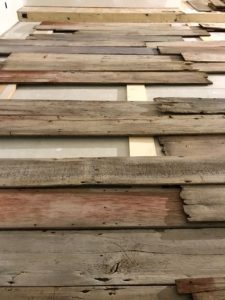
After some tinkering, and listening to Tom Petty, I had made my plan. After much debate, and Pinterest searching, I decided to keep the majority of painted portion of the planks to the outside of the room/walls.
Adam and his wife Erin have a really beautiful, unique farmhouse, that they have added a lot of character and detail to over the years. Barnwood, beams, tin, hard work, and their vision, have made it a show-stopper — it’s really special. So I knew Adam would be willing to think a little outside the box on our mudroom ceiling. Thank you Adam for teaching me how to run the saw today!
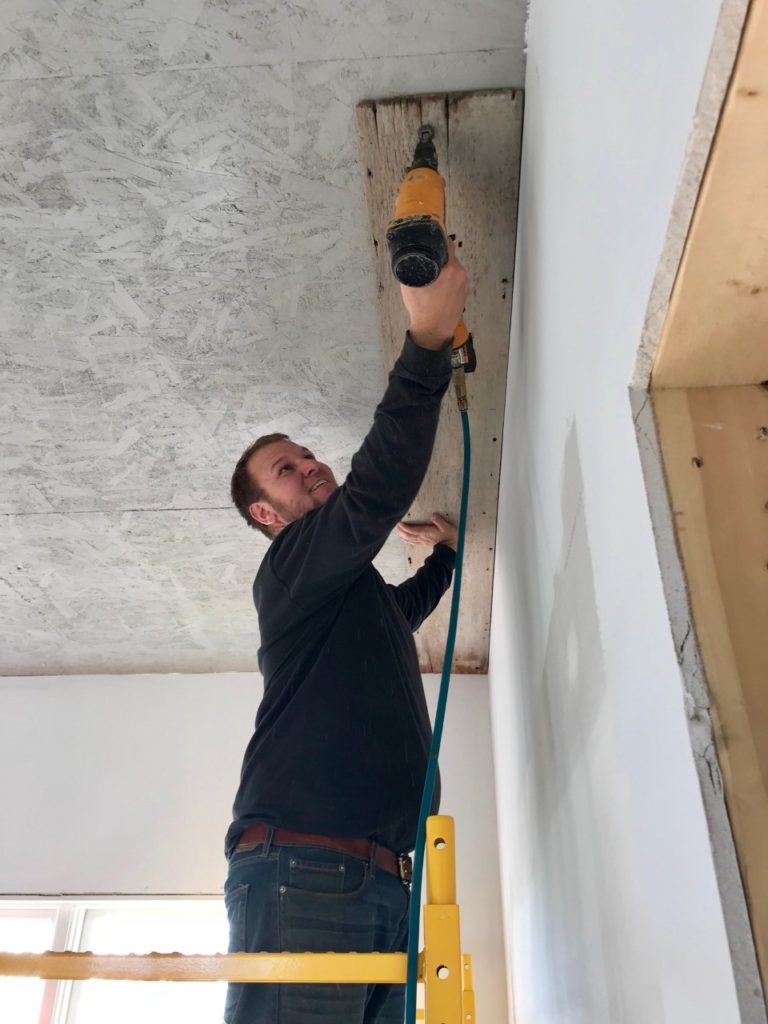
Adam manned the placement and I did my best to cut the boards and run them back and forth. Adam may have learned patience on a whole new level, as I was on a big learning curve today!
Because I was so busy actually working — and not just documenting the work — I was kind of too busy to take a lot of pictures. Go figure.
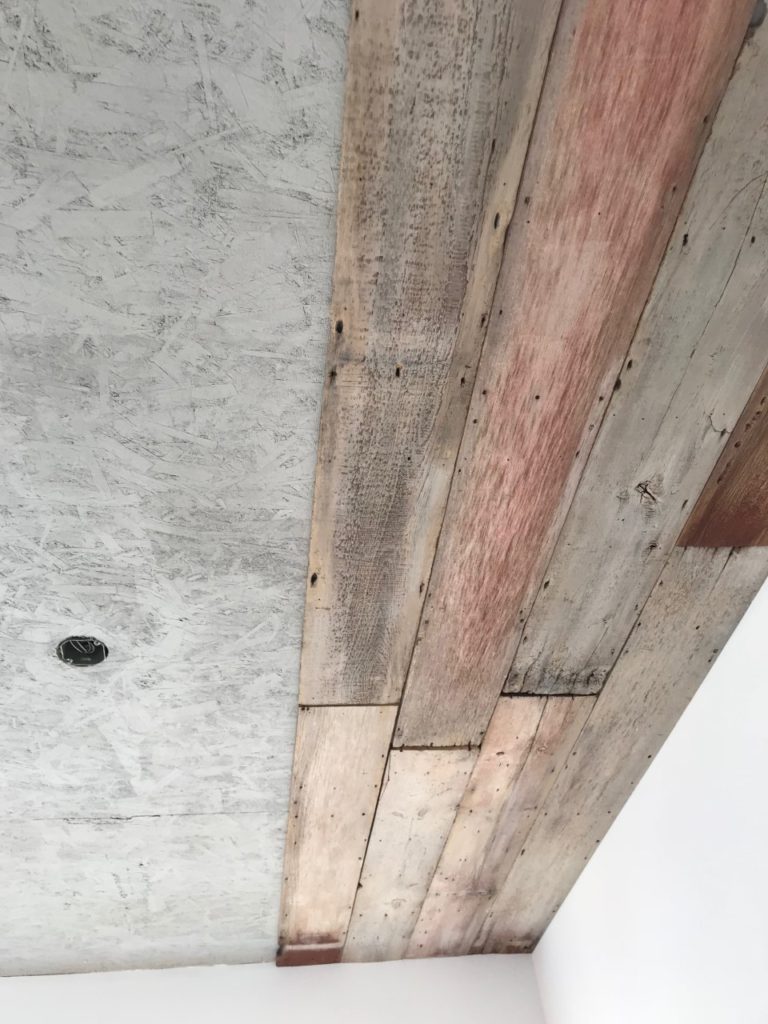
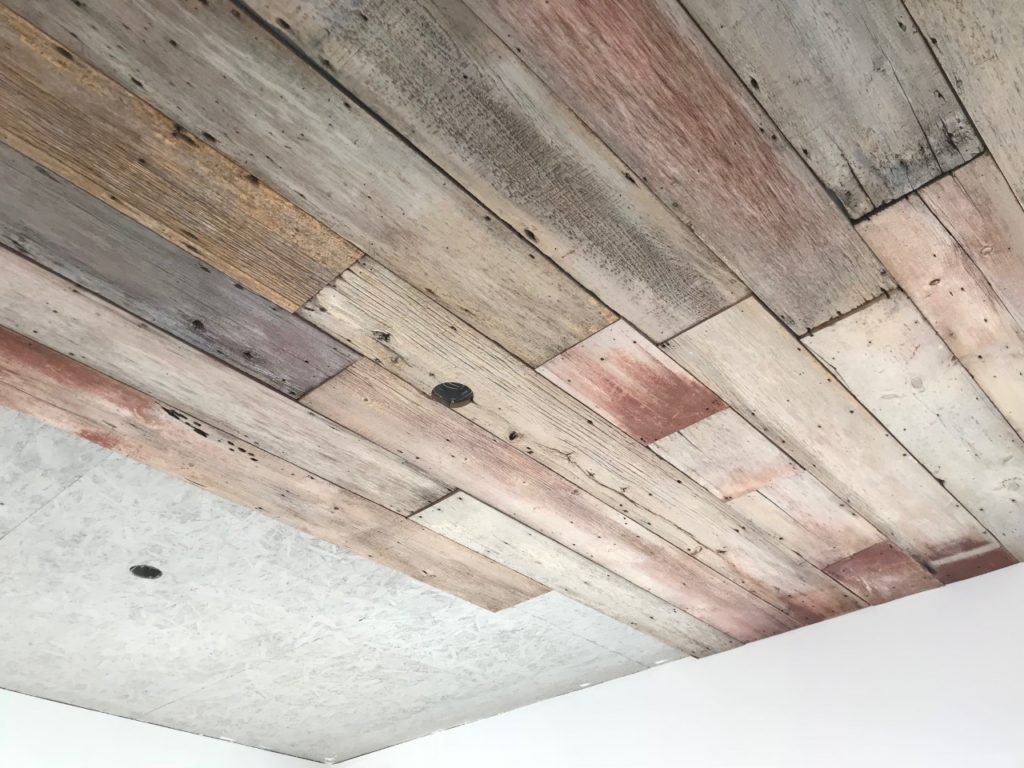
It was important to me that this be perfectly imperfect.
I think we nailed it.
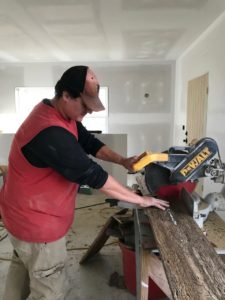
After Luke got done hanging doors, he came up and helped out with the saw, so the process started moving a little quicker.
Having Luke’s help was especially important when it came time to rip a few boards at the end of the room. (Rip means to cut them the long way. Who knew? Just in case you are like me and didn’t know that before today.)
Teamwork makes the dream work, fellas.
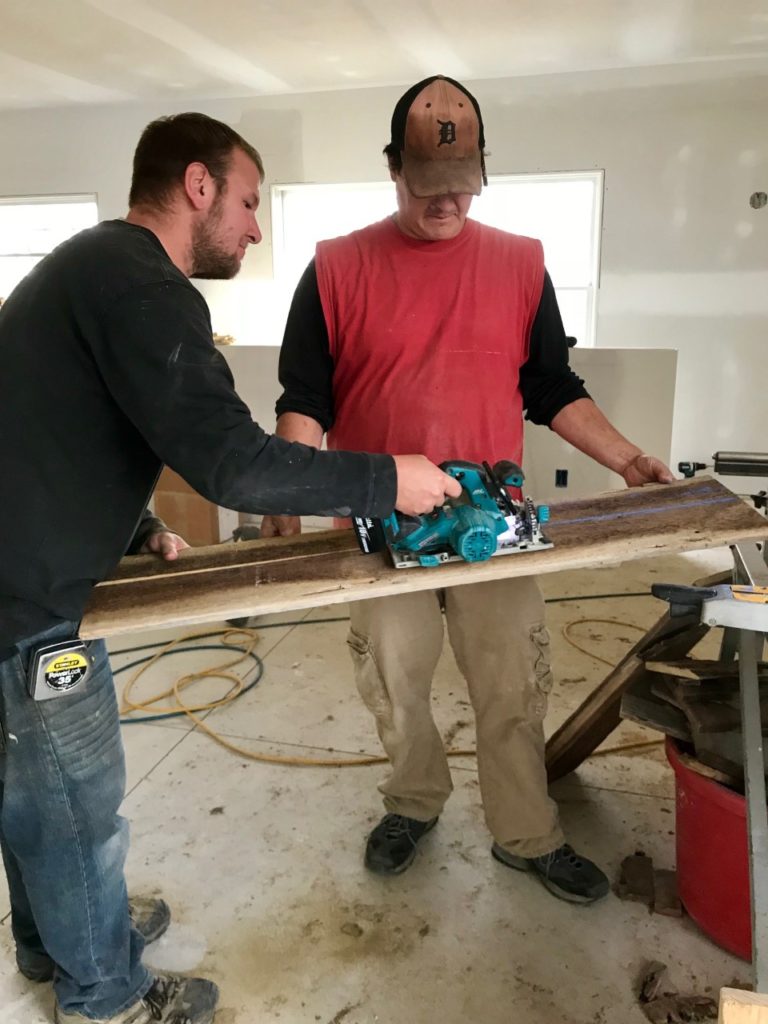
We joked and said today’s project was “my show”, as I am never large and in charge of anything on the building front.
Don’t get me wrong, I get plenty of input, although I don’t call the shots. But today, I got to be more hands-on than anything else to date. Yet, the reality is, it was Adam’s show. BJR and I would have driven each other crazy with trying to do this project, with all it’s inexact science.
You can thank me later, Adam, for capturing this little moment of you revelling in your handiwork.
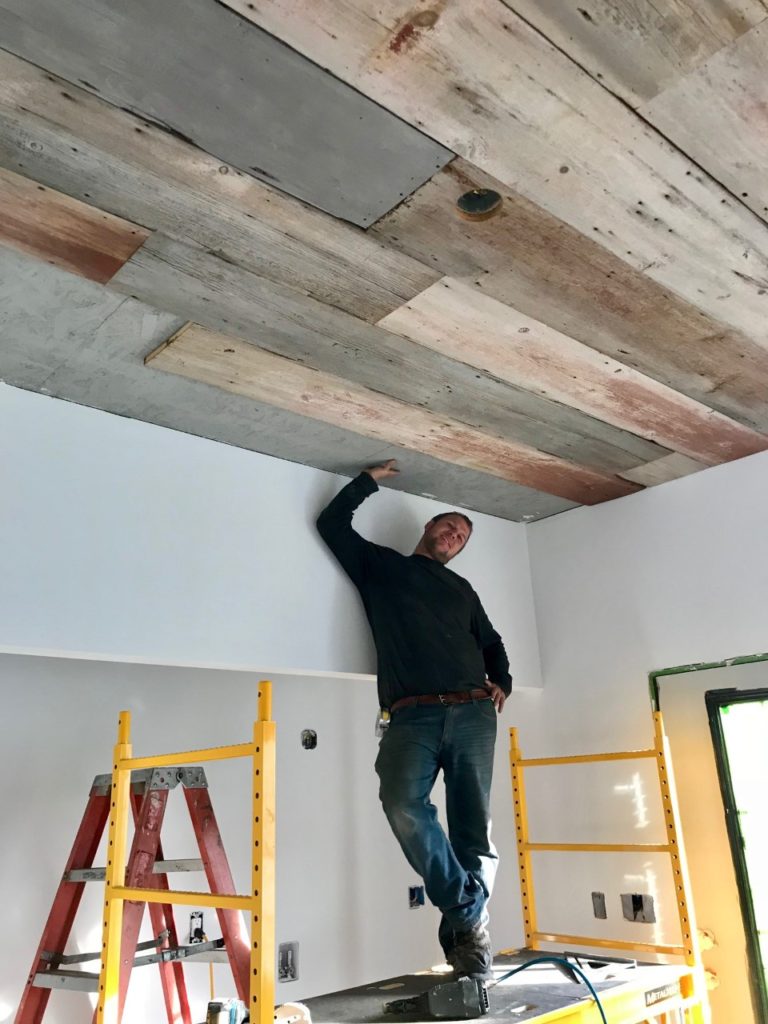
Here is it, the last full board, connecting the mudroom ceiling to the new forever kitchen ceiling… ta da! Pretty darn exciting!
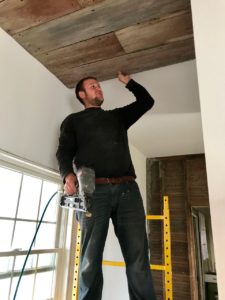
The ceiling looks just as I hoped it would — it’s a tad out of my natural inclination for symmetry — and that’s exactly why I love it.
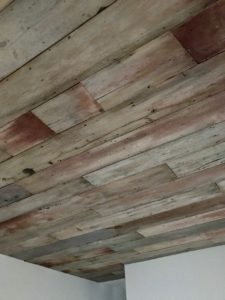
It’s seen better days, but it’s full of character — it’s repurposed roughness is part of its charm. It doesn’t have to be perfect to be pretty.
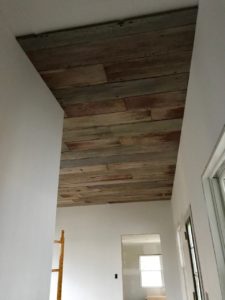
And it’s part of the farm’s story. It truly doesn’t get much better than that.
Peace out from DRF, from one tired, saw-running farm girl…
xoxo
Looking so good!! Your hard work sure does show.
Thanks Cathy! We have had some good help along the way! lol
I love it! I think it looks great! I can only imagine how hard it was to clean all those boards. You go, girl!
It was a lotta work, but worth it! xoxo
I m wondering when you power washed the wood did you use any kind of soap in the cleaning process?
I used a mixture of Murphy’s Oil Soap and hydrogen peroxide. After researching various products and cleaners, I chose hydrogen peroxide to kill the lichens and little organisms that may have been living on or in the wood. There are commercial products out there, but I didn’t think they were worth the additional expense when hydrogen peroxide would do the trick — and I had about two cups of peroxide in each 5 gallon bucket of water. Good luck with your project!