Oh friends, such a crazy time in our world right now.
A silver lining to all of this time at home means more time to work on the house.
This house, this old girl, she has my heart. After all this time, and all this work, I know every bit of this house, every nook and every wonky crook.
And there are a lot of wonky crooks. They are inherent to a 130+ year old house. Her imperfections are part of what makes her so endearing. Every board, every square nail head. Every scripty notation, underneath the board indicating what wall it was destined to land on. And even every sloped floor that I hope my grandbabies will someday play marble games on, to see just how wack-a-do they really are.
Old houses need a lot of patchwork and putty. And patience.
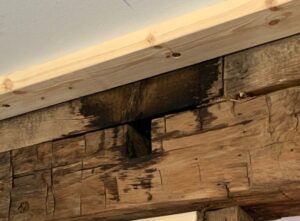
We were so excited when we uncovered the second floor beam that had been underneath the plaster walls. But then we realized she was in pretty rough shape. With the old termite damage and staining by the chimney, was she worthy of staying uncovered?
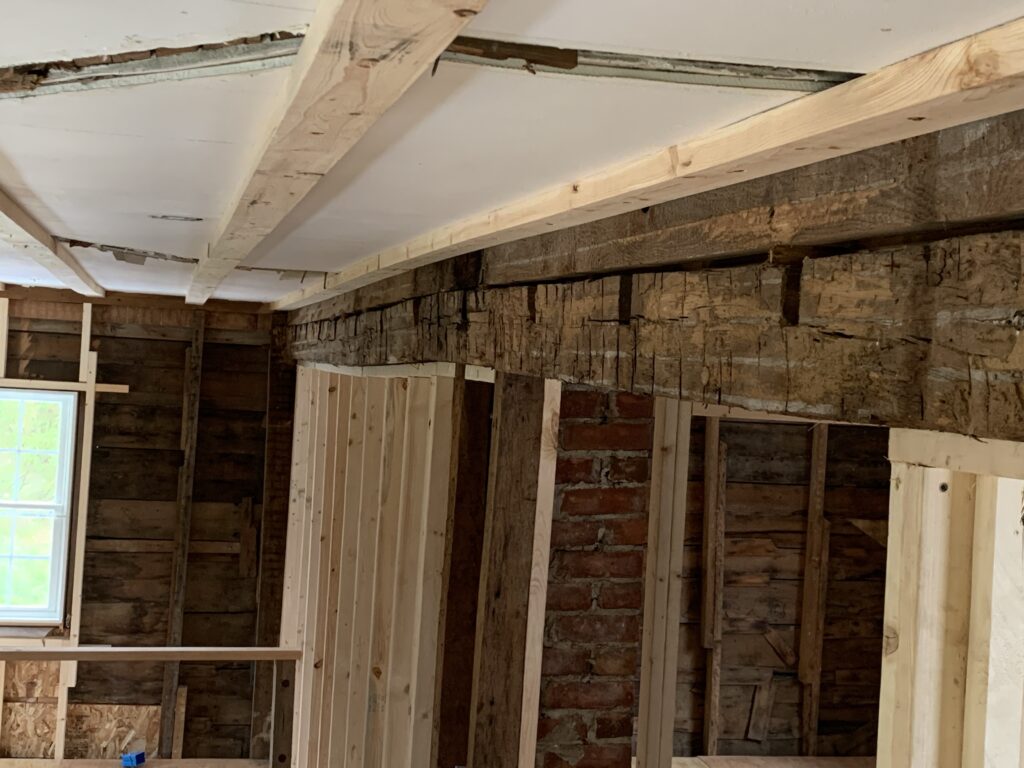
The house had been treated for termites so we don’t have any active pests, but there is plenty of evidence of their handiwork.
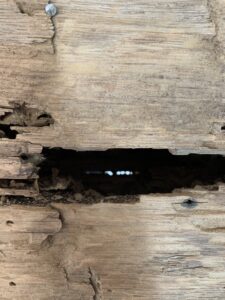
I used a wood epoxy to fill in that Grand Canyon of termite crevices. (Thank you, Shellie & John!)
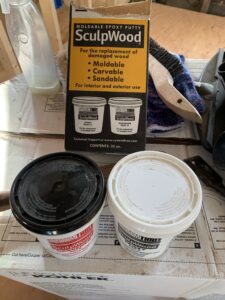
The SculpWood was easy to use and I was able to add faux grain lines to make the filled in canyon a little more realistic looking.
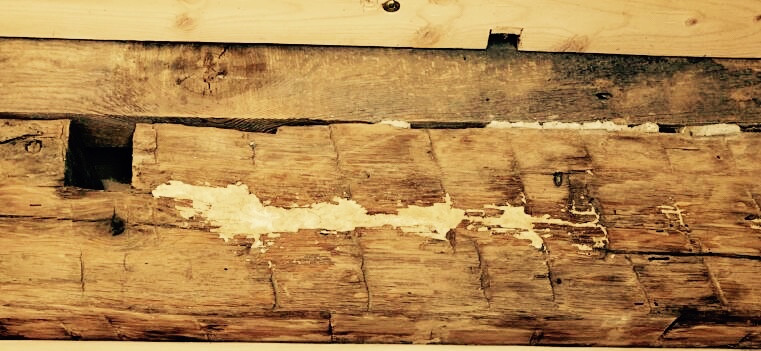
Yet the blackened staining by the chimney was still a problem.
So I cleaned the beam and erased traces of the plaster tracks. A wire brush on the Makita was my best friend for that job. A good chunk of the beam needing attention though was directly over the open stairwell.
Which required a little maneuvering. These are the times I earned my stripes. Being a farmgirl and all.
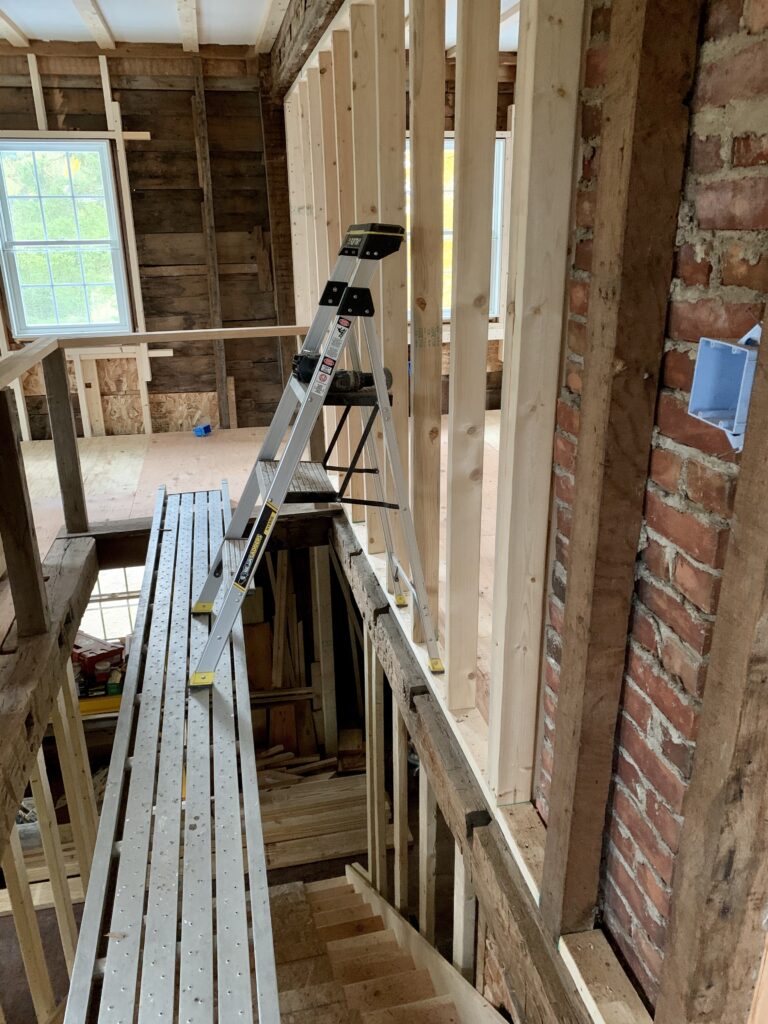
It wasn’t so much the height or being on the pick — but it was that little 2×4 that the front legs of the ladder had to rely on.
Even after cleaning the beam, the blackened staining wasn’t fixing itself. So I had to let go of the idea of keeping the beam in its natural state. (It’s all relative, you know? A pandemic will remind you that.) I went with a dark walnut stain and got to work.
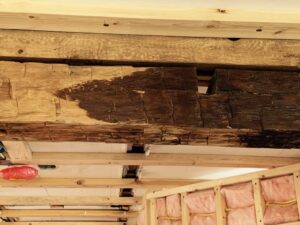
After I got the walnut gel stain on, it looked a little flat — a little one dimensional. So I got out my trusty Briwax in hopes of bring out the beauty of the hand-hewn surface.
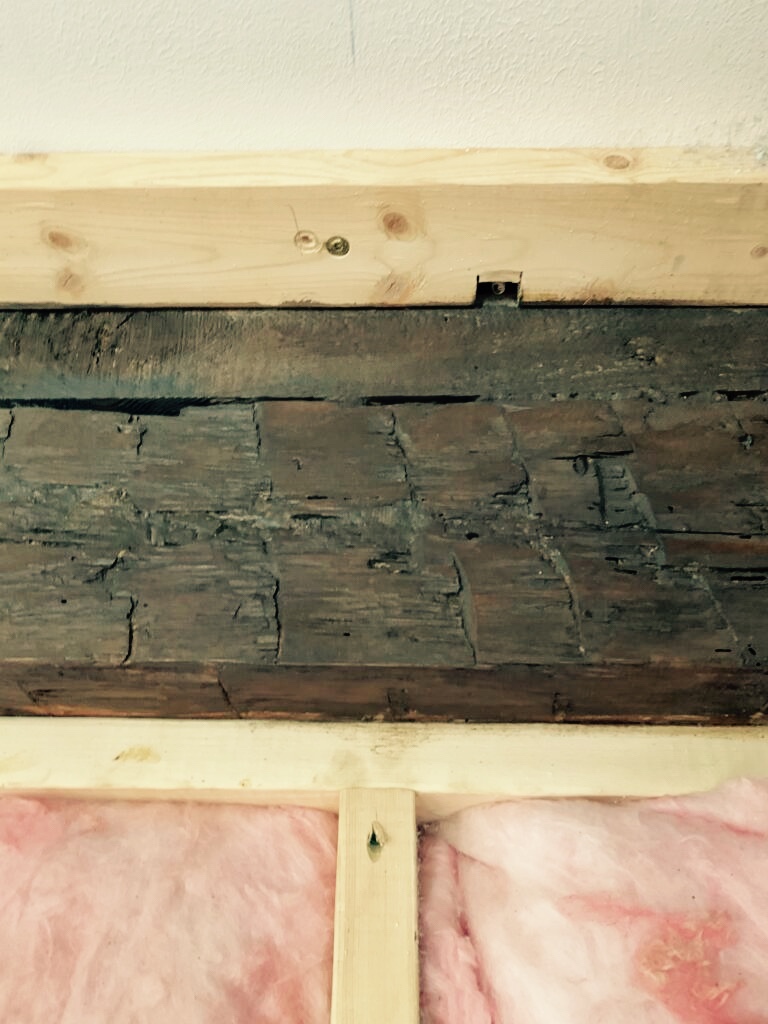
The wax solved that problem — it helped highlight the character of the beam.
And those spots of epoxy? The termite Grand Canyons? They are no more! 🙌🏻
Because we wanted the house to tell its story — the story that many old farmhouses reveal: how they expanded as the prosperity of the farm expanded, we kept old boards and shiplap exposed where we could.
Because those walls were built with no intention of ever being exposed, they had their fair share of issues, like gaps and piecemealed boards.
So to keep them exposed, it required filling in a board or two. Which sounds like it should be simple. But old dry wood isn’t simple. It splits easy — and can make a grown woman cry when jig-sawing in one board takes an entire afternoon. Or so I have been told.
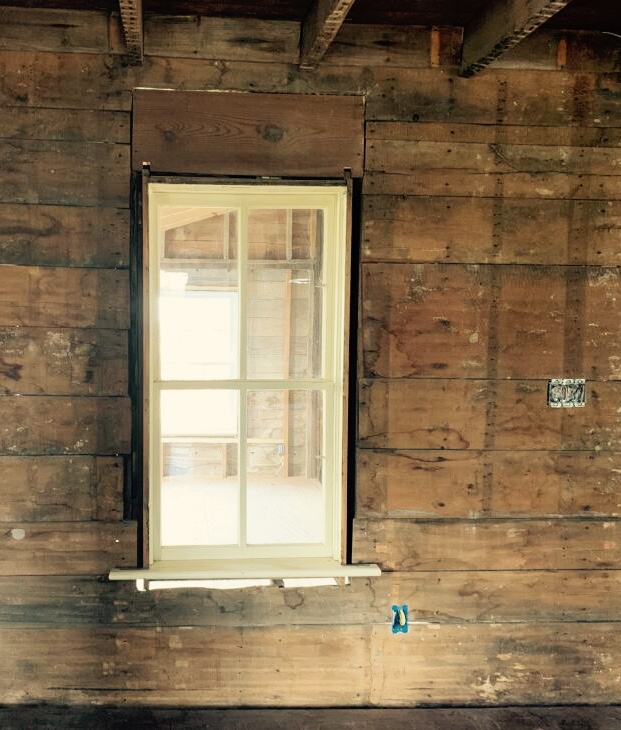
Some of those gaps required patching on the backside of the wall — in order to not be able to peer into the wall cavity. One crack at a time. Tedious but not difficult.
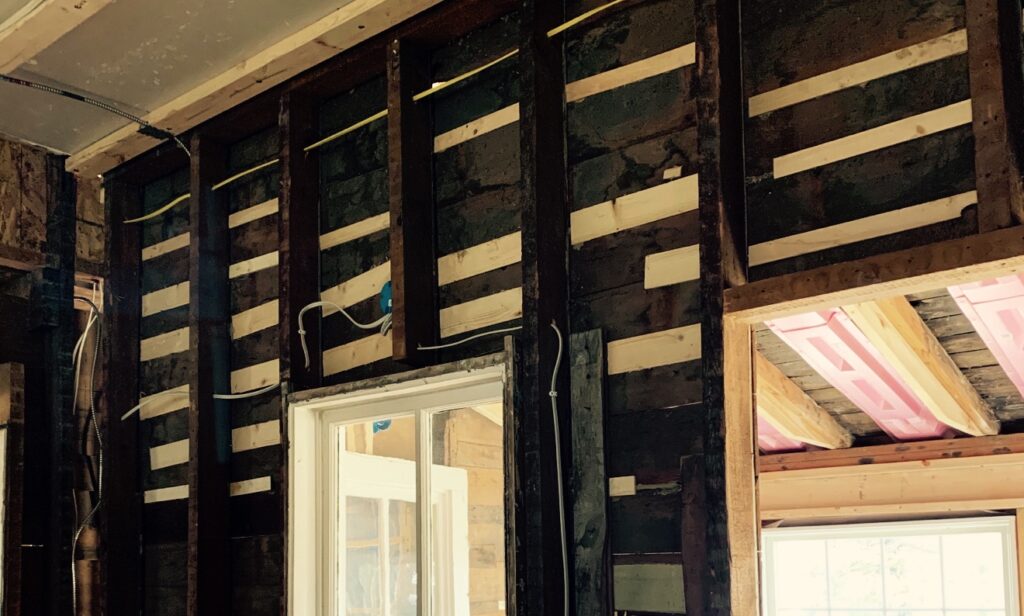
On the other side of that wall however, there were still a few major gaps requiring some chinking.
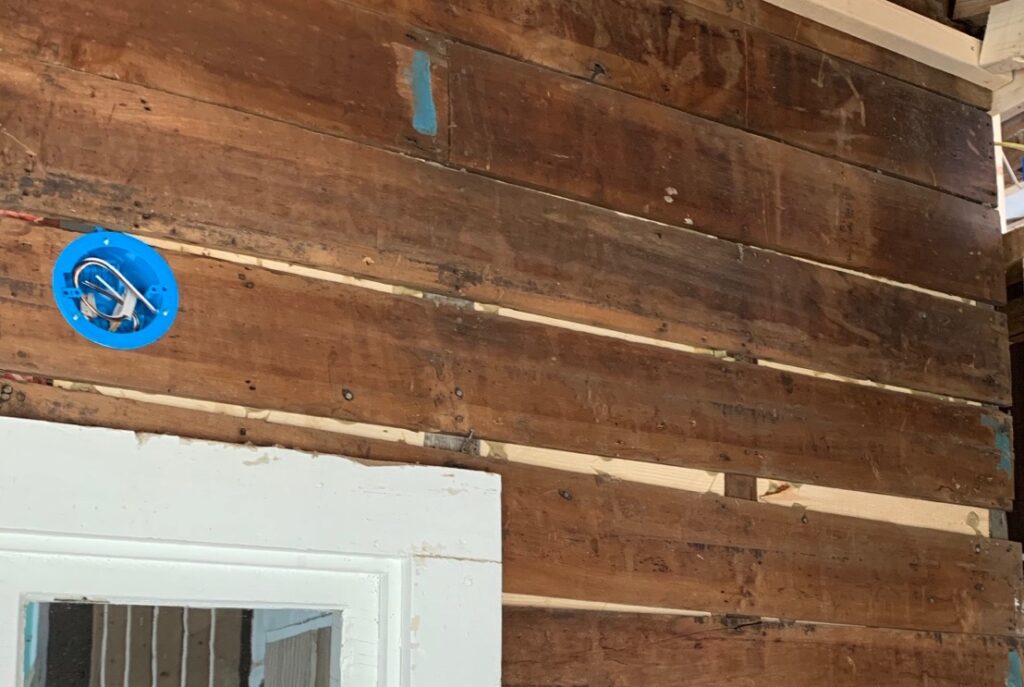
Because these gaps would have taken a lot of SculpWood, the man at Home Depot said I could save some money and make my own filler with glue and sawdust. So I gave it a try.
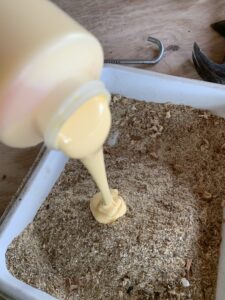
The homemade chinking was not easy to work with — at all. I used a putty knife to get it in between the boards, while also trying to flatten it out. It would fall out after I thought it would stay put. Next time (ha!), I will buy more SculpWood and be done with it.
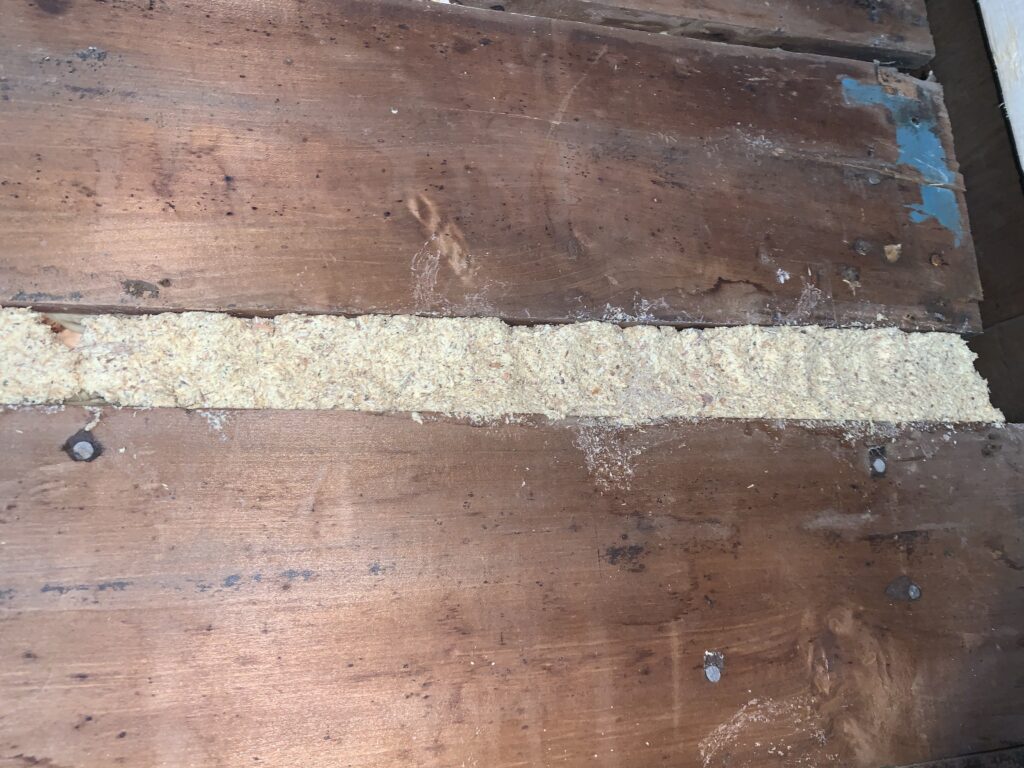
And because I have gotten so good at the chop saw, I also got to fill in the old door (that we moved from one side of the wall to the other) to the wood room.
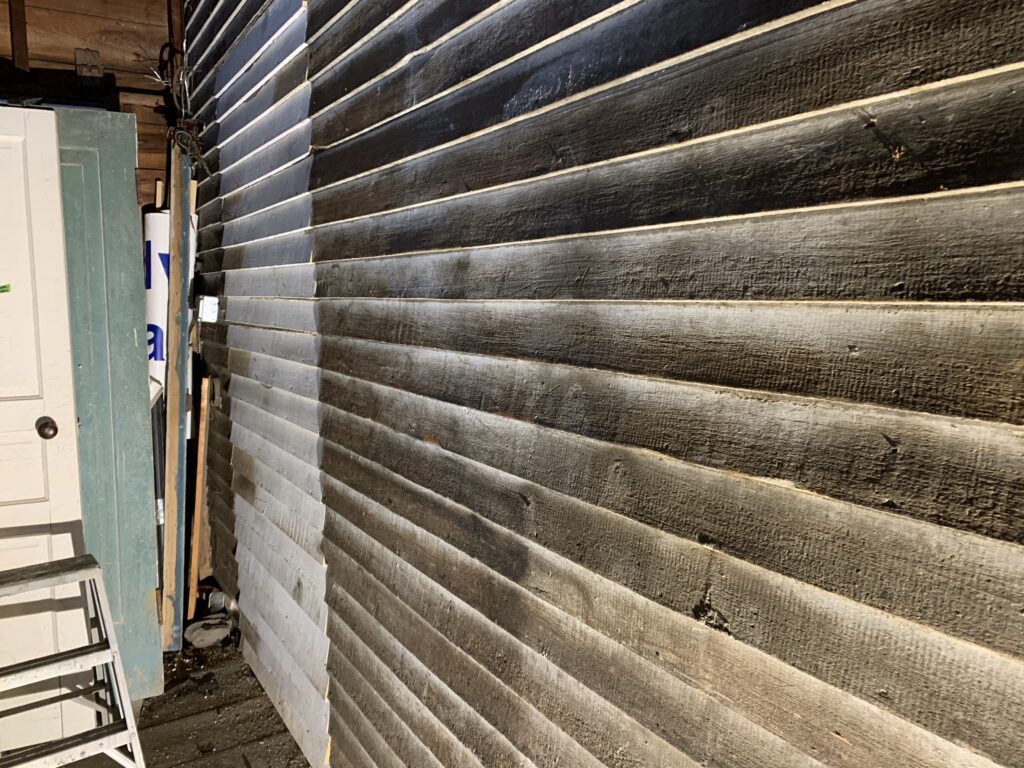
The wood room is off the kitchen and was added on, at some point, in the house’s history. When they tacked it on to the kitchen, they left all the old wood siding. This old exterior wall will make a great backdrop for the family room. But first it needed to be patch-worked together.
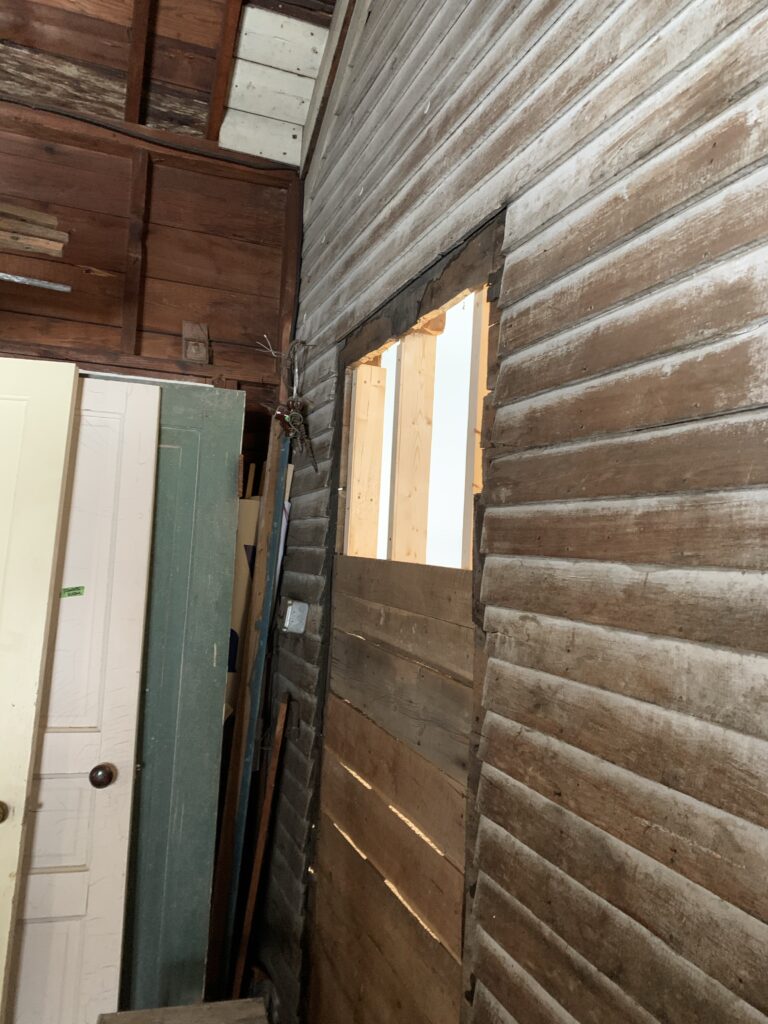
Then I needed to add in the old siding — and try to line it up with existing siding.
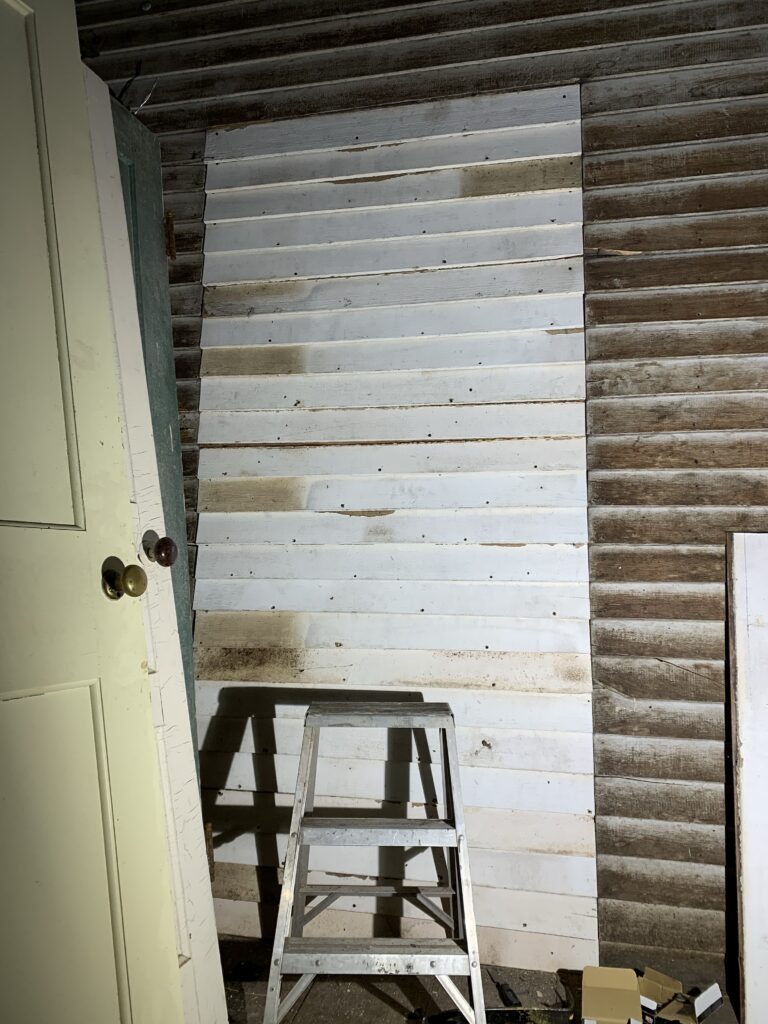
You will always be able to see the patch job here — and that doesn’t bother me at all. It’s just more of the house’s story.
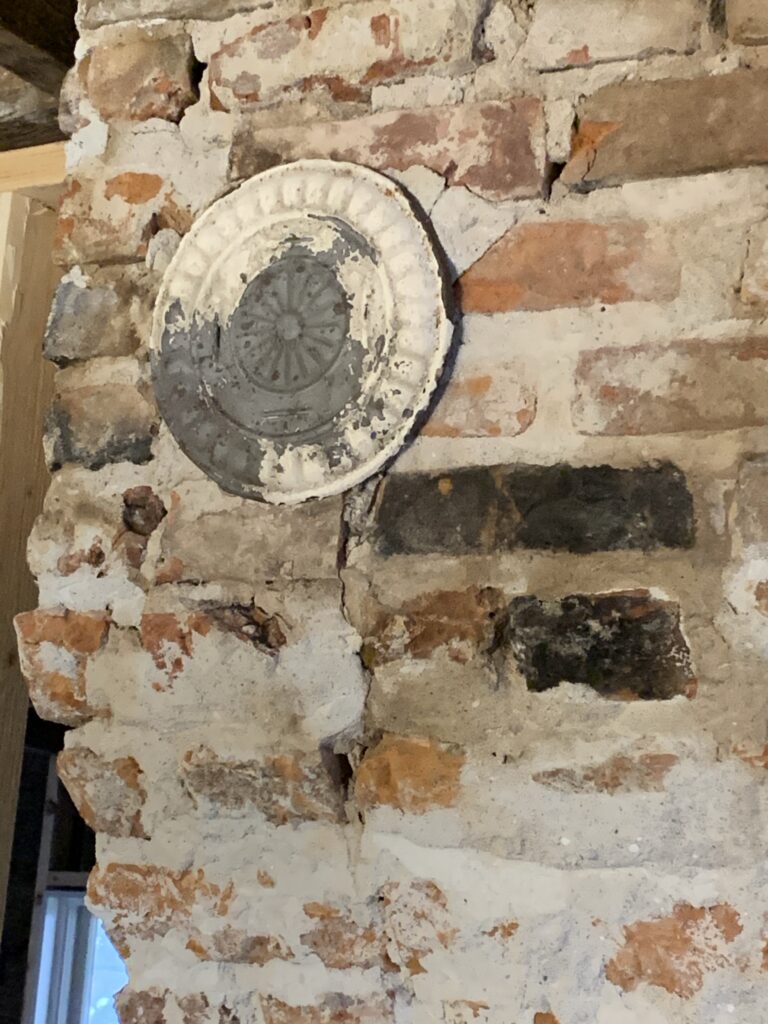
Then, last but not least, there was the base of the old chimney still covered in plaster. BJR’s vote was to leave it as is.
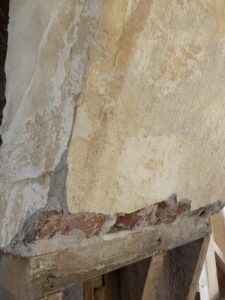
And I get it — we are tired. BJR has done more than his share of the heavy lifting! Thank goodness he has a farmgirl wife who doesn’t mind doing the grunt work.
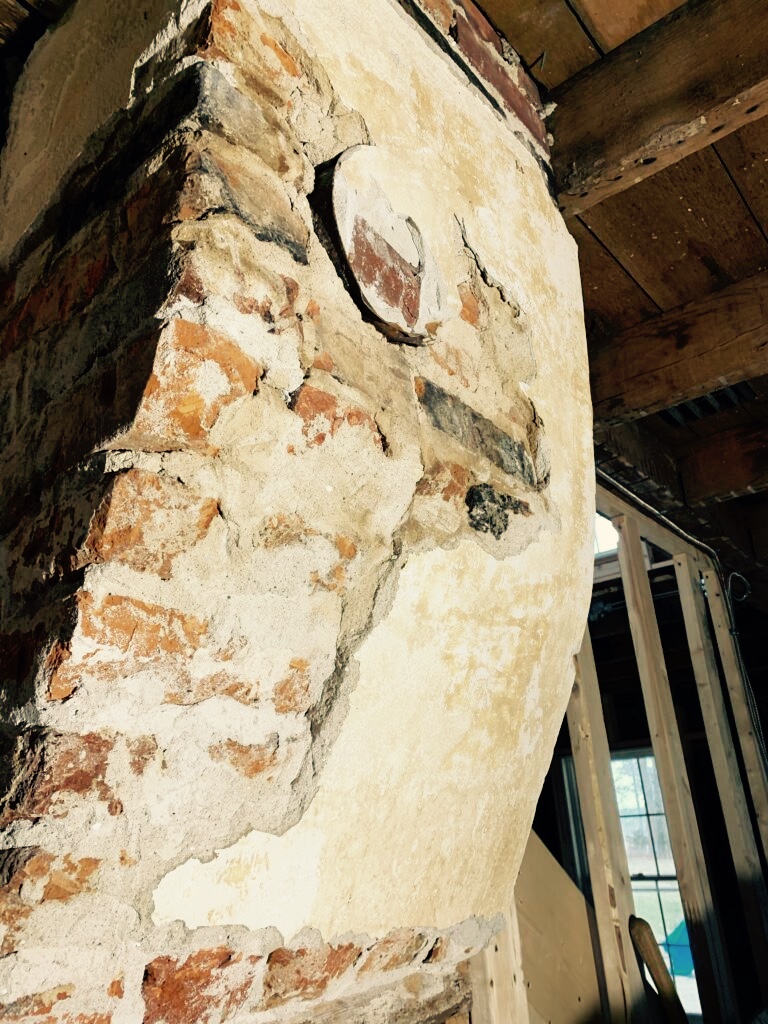
It took me almost two entire afternoons, to uncover the chimney base. The chipping was slow because I didn’t want to chip off any of the mortar.
Fortunately I had an extra old plate to cover up the hole.
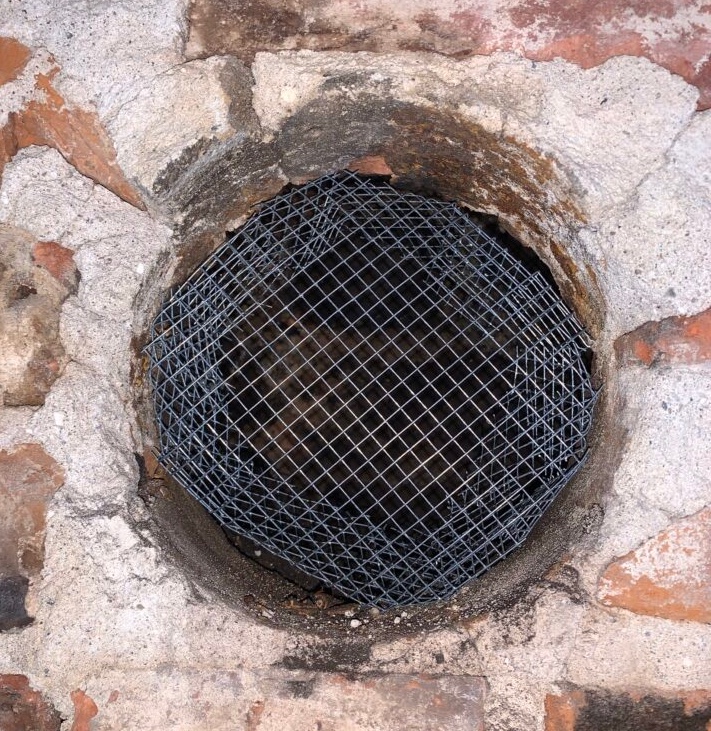
So I set to work making a screen, before covering it with spray foam insulation.
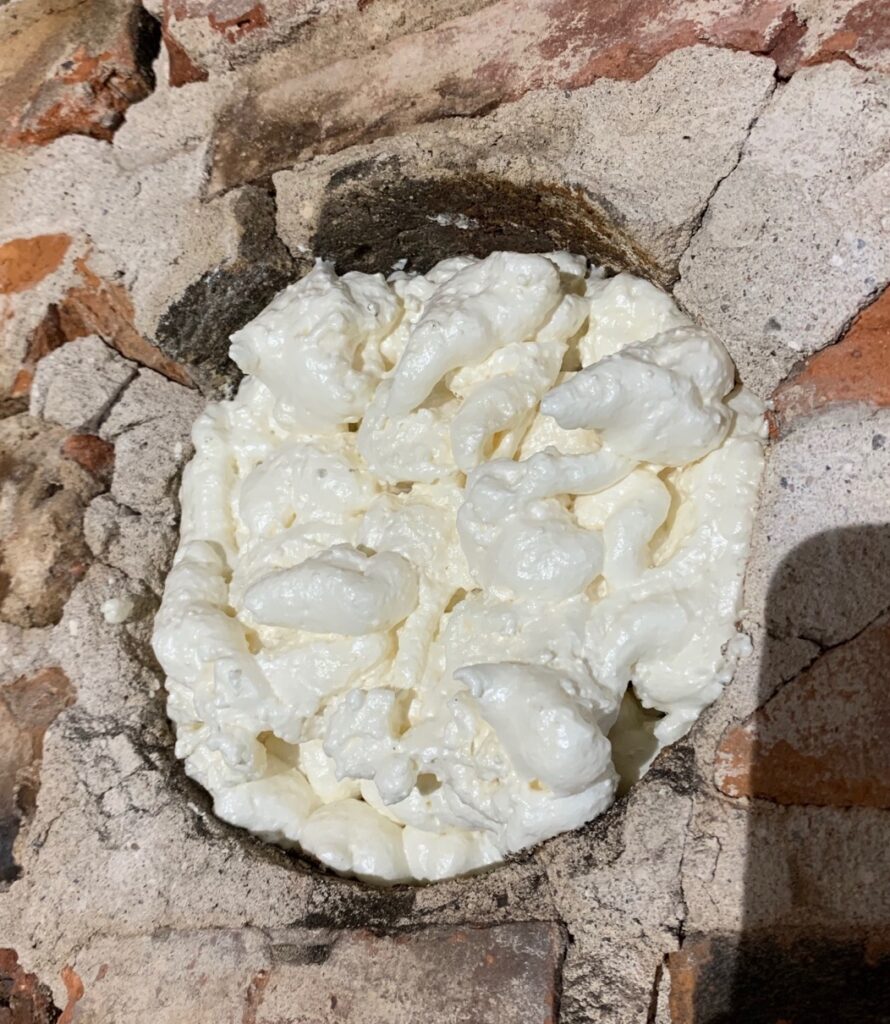
Then I capped it off with the cover that I didn’t use on the upstairs chimney because it was a little too chippy. I was prepared to sand it and then paint it, before adhering it to the chimney. But when I held it up to the chimney, the chippy paint didn’t bother me like I thought it would. (And maybe, by this point, I was just tired and wanted to be able to cross something off the list?!)
These little jobs may not be the kind that get “oohhh-ed and aahhh-ed” over, but when combined together, they make all the difference in the world to me.
Board by board. Bit by bit. This old house will soon by our home.
xoxo